Paper Kingdom
Custom Brushes
I created custom brushes using public domain scientific illustrations from The Biodiversity Heritage Library that can used with free and open source software such as GIMP and Krita. These were used to create the collage pieces you see on this site.
What’s in this set?
Krita brushes
Krita is a professional free and open source painting program. I created a custom bundle of 8 brushes: fish, birds, flying insects, crawling insects, leaves, flowers, reptiles/amphibians, and crustacea.
A screen recording of the Krita custom brush in action
After you unzip the brush set, you can simply install bundle by going to Settings ‣ Manage Resources ‣ Import Bundles and select the ./Paper_Kingdom_V1/krita/Paper_Kingdom.bundle file in the unzipped folder. There should then be a “Paper Kingdom” tag under the brush presets menu (in some cases, you may need to restart Krita to see this new tag).
If you are unfamiliar with Krita, there are many brush settings you can change to adjust how the brushes behave. This includes controlling the size, opacity, spacing, and rotation of the brush based on parameters such as drawing speed, pressure, and angle. After you select a brush preset, you can play with the brush settings by clicking the icon labelled Edit brush settings in your tool options along the top of your screen.
Some notable settings include Opacity, Flow ‣ Size, Flow ‣ Rotation, and Flow ‣ Scatter. By default, if you are using a touch device that can sense pressure, the size of the brush will react to your touch pressure. For most brushes if applicable, I made the drawing angle correspond to the brush rotation, so for example, you can easily make fish “swim” in the direction of your drawing strokes. I also added a slight “scatter” effect by default for a more organic feel, but you can turn that off. I didn’t make opacity reactive to touch sensitivity by default, but you can turn that on too.
GIMP animated brushes
GIMP is a free and open source image editing program (similar to Photoshop.) The Krita brushes were built from GIMP animated brushes, so you can work with these brushes in a similar way in GIMP.
A screen recording of the GIMP animated brush in action
The GIMP brushes can be found in the ./Paper_Kingdom_V1/gih/ folder. To install these, you will need to copy the contents of this folder (made up of .gih files.) and paste them into your GIMP brush directory. In Windows, this typically is C:/Users/<your user>/AppData/Roaming/GIMP/<your GIMP version>/brushes/ and on a Mac, Users > <your user> > Library > Application Support > GIMP > <your GIMP version> > brushes (you can also find this path by going to your GIMP Preferences ‣ Folders ‣ Brushes ). If you have GIMP open, you can press the Refresh brushes icon below your brush panel. And now you should see the new brushes.
Like in Krita, you can adjust properties such as size, angle, and spacing, but the options are much more limited.
Sprite sheets
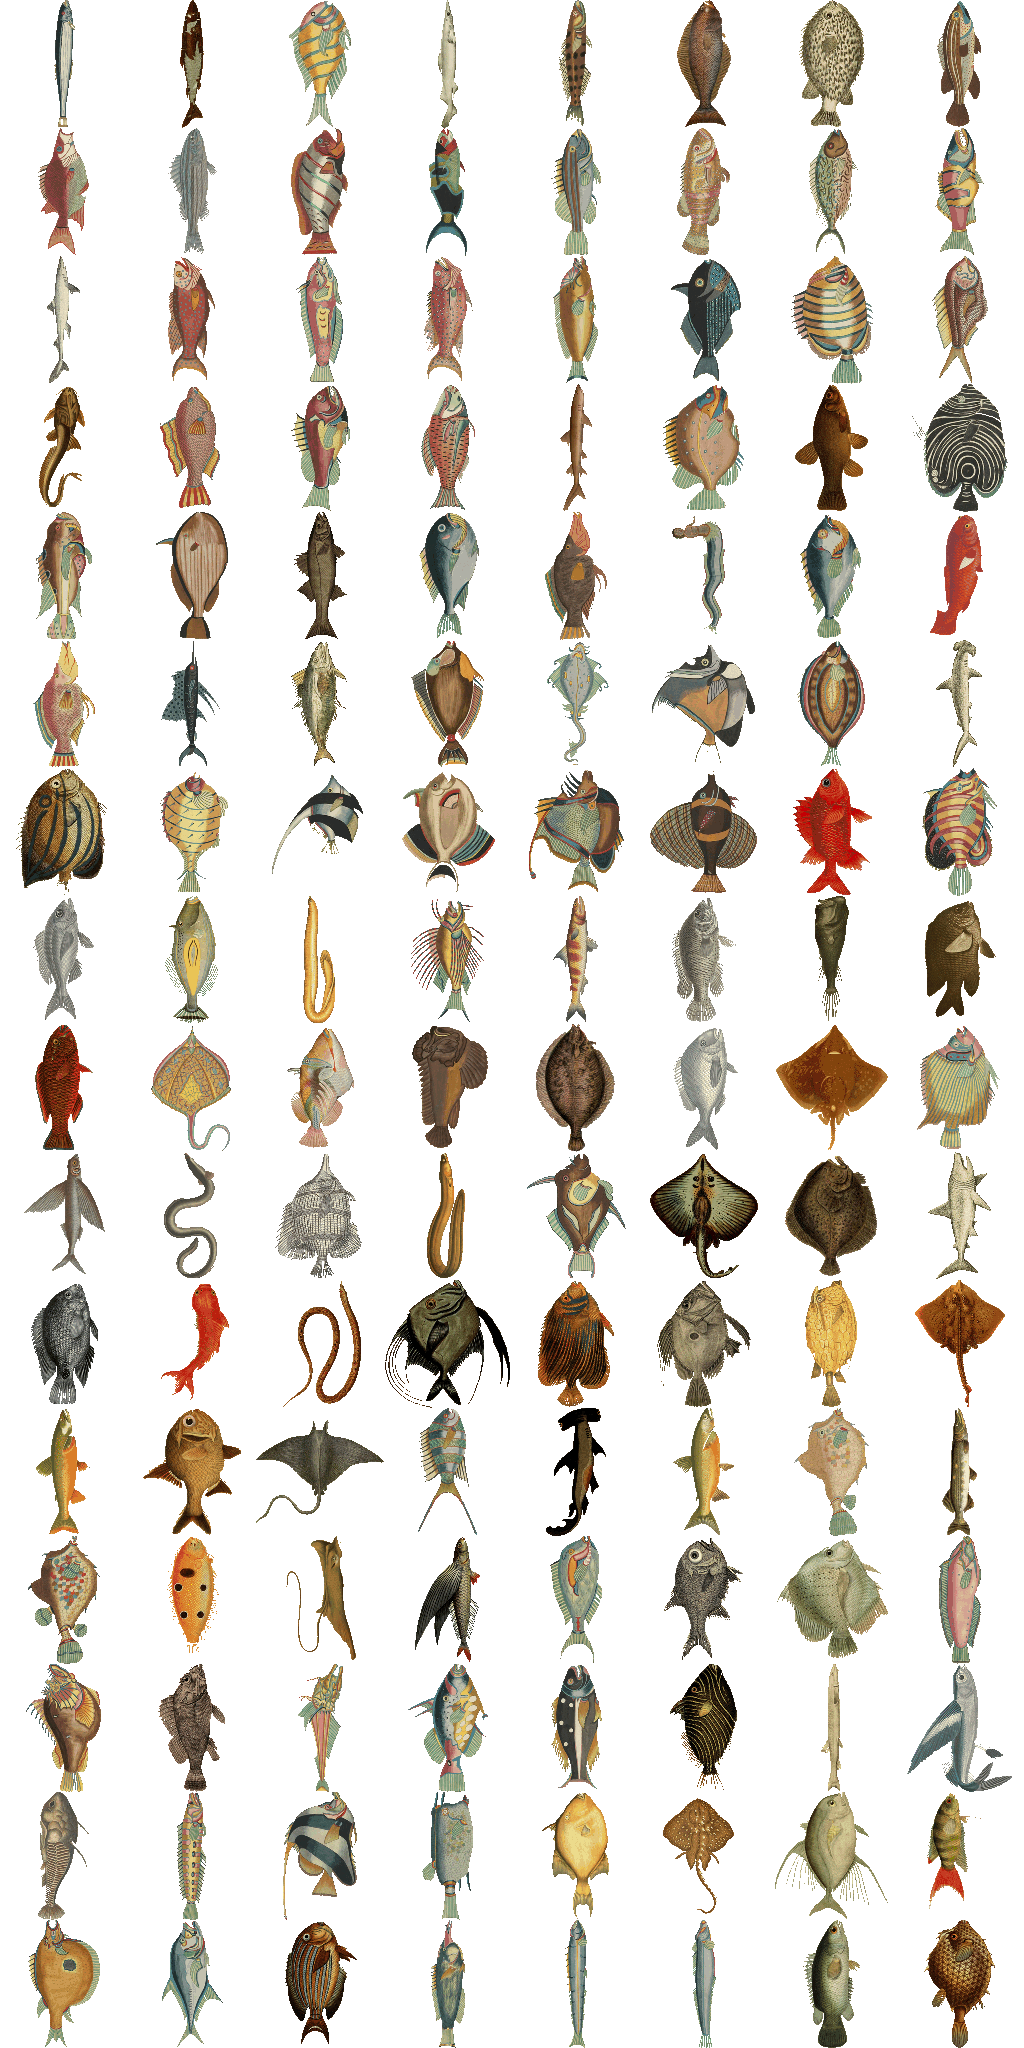
I also included sprite sheets which were used to create the GIMP animated brushes (and thus the Krita brushes as well.) Sprite sheets are useful for things like game development. They can be found in the ./Paper_Kingdom_V1/sprites/ folder. The sprites are 8 columns by 16 rows (where each sprite cell is 256 x 256px) for a total of 128 cells.
Individual images
Lastly, I am including all the cropped and cleaned source images. These are the most flexible format, but also the most tedious to work with. They can be found in the ./Paper_Kingdom_V1/images/ folder.
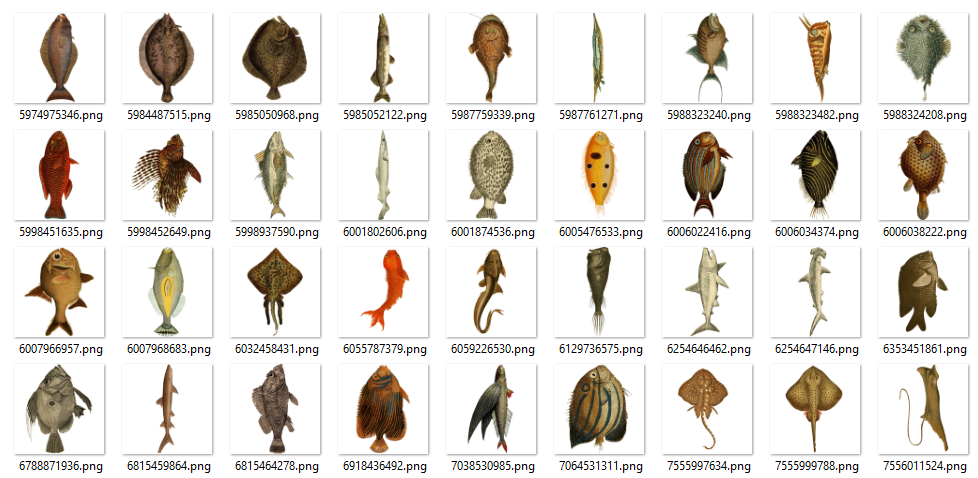
Note that the file names of the images correspond to their unique ID in the The Biodiversity Heritage Library Flickr page. For example, 5974975346.png can be found at: https://www.flickr.com/photos/biodivlibrary/5974975346/ which includes where to find the original source material.